
Discover how to create the perfect Mounds cake recipe, combining moist chocolate cake, creamy coconut filling, and luscious ganache topping. This detailed guide covers every step, from ingredients to assembly, ensuring a show-stopping dessert for any occasion.
Introduction to Mounds Cake Recipe
Understanding the Mounds Cake Recipe
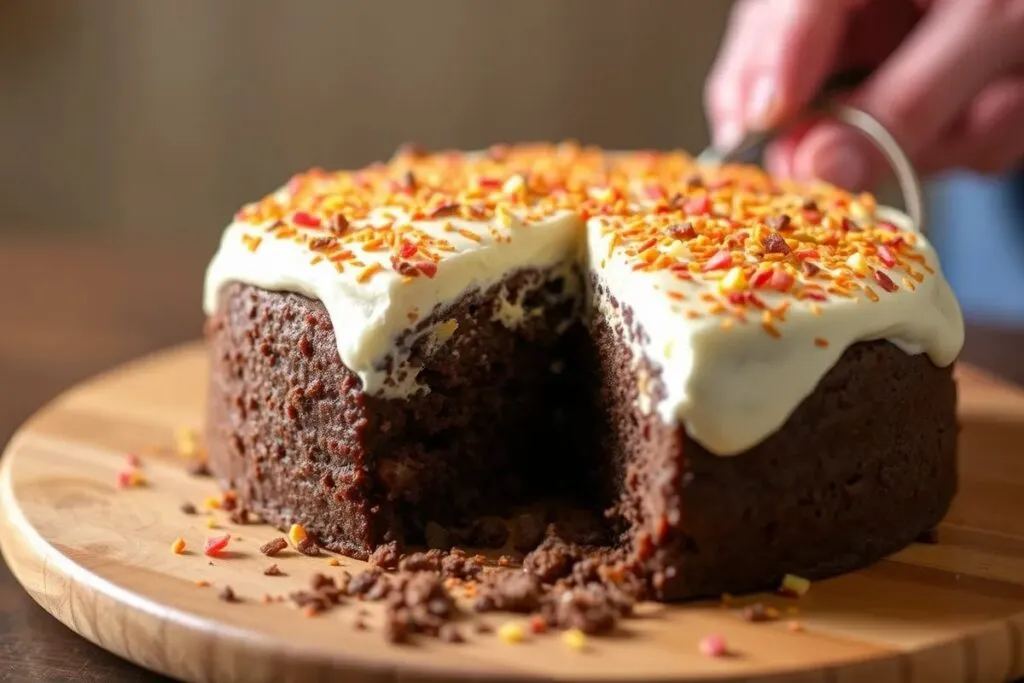
When it comes to desserts, the Mounds cake recipe stands out for its rich blend of chocolate and coconut flavors. Inspired by the iconic Mounds candy bar, this cake features a perfect marriage of textures: moist chocolate cake, a velvety coconut filling, and a decadent ganache topping. Its irresistible layers make it a star dessert at any celebration.
Origins of the Mounds Cake Recipe Candy Bar
The Mounds candy bar, known for its signature dark chocolate and coconut combination, has delighted taste buds for decades. Its creation dates back to the early 20th century, becoming a beloved treat for chocolate lovers worldwide. The candy’s popularity inspired countless dessert recipes, including the famous Mounds cake.
Inspiration Behind the Mounds Cake Recipe
The idea of transforming a candy bar into a luscious cake is nothing short of genius. This cake is more than just a dessert—it’s a nostalgic nod to a timeless favorite. The chocolate-coconut fusion in every bite makes it a must-try recipe for home bakers eager to impress.
Ingredients and Equipment
Creating the perfect Mounds cake recipe starts with gathering the right ingredients and essential kitchen tools. With quality components and the proper equipment, you’re set to craft a dessert that’s as delicious as it is visually stunning.
Essential Ingredients for Mounds Cake Recipe
To achieve a rich, indulgent cake, every ingredient matters. Here’s a breakdown of what you’ll need:
2.1. Chocolate Components
- Unsweetened Cocoa Powder: Delivers a deep, chocolatey flavor.
- Semi-Sweet Chocolate Chips: Perfect for the ganache topping.
- Dark Chocolate Bars: Add intensity to the ganache.
- Granulated Sugar: Balances the bitterness of the cocoa.
2.2. Coconut Filling Essentials
- Sweetened Shredded Coconut: Creates a moist, flavorful filling.
- Sweetened Condensed Milk: Binds the coconut for a creamy texture.
- Vanilla Extract: Enhances the coconut’s natural sweetness.
2.3. Additional Ingredients
- All-Purpose Flour: Forms the cake’s structure.
- Eggs: Provide richness and stability.
- Baking Powder & Baking Soda: Ensure the cake rises properly.
- Butter: Adds moisture and a tender crumb.
- Salt: Balances sweetness and intensifies flavors.
Necessary Kitchen Equipment
Proper baking tools can make or break your Mounds cake recipe. Having these on hand ensures a smooth baking experience:
3.1. Baking Pans and Tools
- Two 9-inch Cake Pans: For even, uniform layers.
- Cooling Racks: Prevent cakes from becoming soggy.
- Offset Spatula: Helps spread the coconut filling smoothly.
3.2. Mixing Equipment
- Stand or Hand Mixer: Makes mixing batter easier.
- Mixing Bowls: Use different sizes for various components.
- Measuring Cups and Spoons: Ensure precise measurements for the best results.
With your ingredients and tools ready, you’re on the path to creating a dessert that’s nothing short of spectacular!
Step-by-Step Preparation Mounds Cake Recipe
Creating a delicious Mounds cake recipe requires a step-by-step approach for the best results. From baking the chocolate base to crafting the luscious coconut filling and ganache topping, follow these detailed instructions to ensure success.
Preparing the Chocolate Cake Base
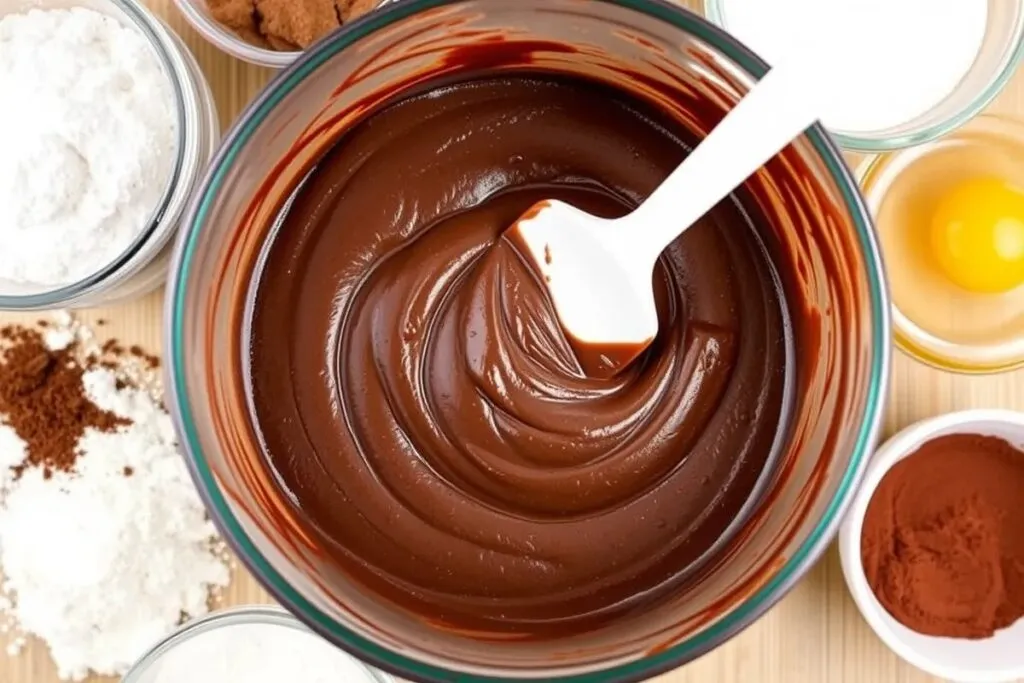
4.1. Mixing the Batter
- Preheat the Oven: Set it to 350°F (175°C). Grease and line two 9-inch cake pans.
- Cream the Butter and Sugar: In a large mixing bowl, beat softened butter and sugar until light and fluffy.
- Add Eggs and Vanilla: Mix in eggs one at a time, followed by vanilla extract for enhanced flavor.
- Combine Dry Ingredients: Sift together flour, cocoa powder, baking powder, baking soda, and salt in a separate bowl.
- Mix Wet and Dry Ingredients: Alternate adding dry ingredients and buttermilk to the wet mixture, starting and ending with the dry ingredients.
4.2. Baking Guidelines
- Divide the Batter: Pour the batter evenly into prepared pans.
- Bake: Place in the oven for 30-35 minutes or until a toothpick inserted comes out clean.
- Check for Doneness: Cakes should spring back when lightly pressed in the center.
4.3. Cooling the Cake Layers
- Cool in Pans: Let cakes cool in pans for 10 minutes.
- Transfer to Cooling Racks: Carefully remove the cakes and cool completely on racks.
Crafting the Coconut Filling
5.1. Combining Ingredients
- Mix Coconut and Milk: In a bowl, combine sweetened shredded coconut with sweetened condensed milk.
- Add Vanilla Extract: Stir in a splash of vanilla for extra depth.
5.2. Achieving the Ideal Consistency
- Thick but Spreadable: The mixture should be thick enough to hold its shape but spread easily between cake layers.
- Chill if Needed: If it’s too runny, refrigerate for 15-20 minutes.
Making the Chocolate Ganache Topping
6.1. Selecting the Right Chocolate
- Use High-Quality Chocolate: Opt for semi-sweet or dark chocolate bars for the richest flavor.
- Avoid Chocolate Chips Alone: They can contain stabilizers that affect texture.
6.2. Heating and Mixing Techniques
- Heat Heavy Cream: In a small saucepan, heat heavy cream until it just starts to simmer.
- Pour Over Chocolate: Place chopped chocolate in a heatproof bowl and pour hot cream over it.
- Let Sit and Stir: Allow the mixture to sit for 2-3 minutes, then gently stir until smooth and glossy.
With these components prepared, you’re ready to assemble a show-stopping Mounds cake!
Assembling the Mounds Cake Recipe
With all the components ready, it’s time to bring your Mounds cake recipe masterpiece together. Follow these steps carefully to achieve a perfectly layered, professional-looking cake.
Layering the Cake
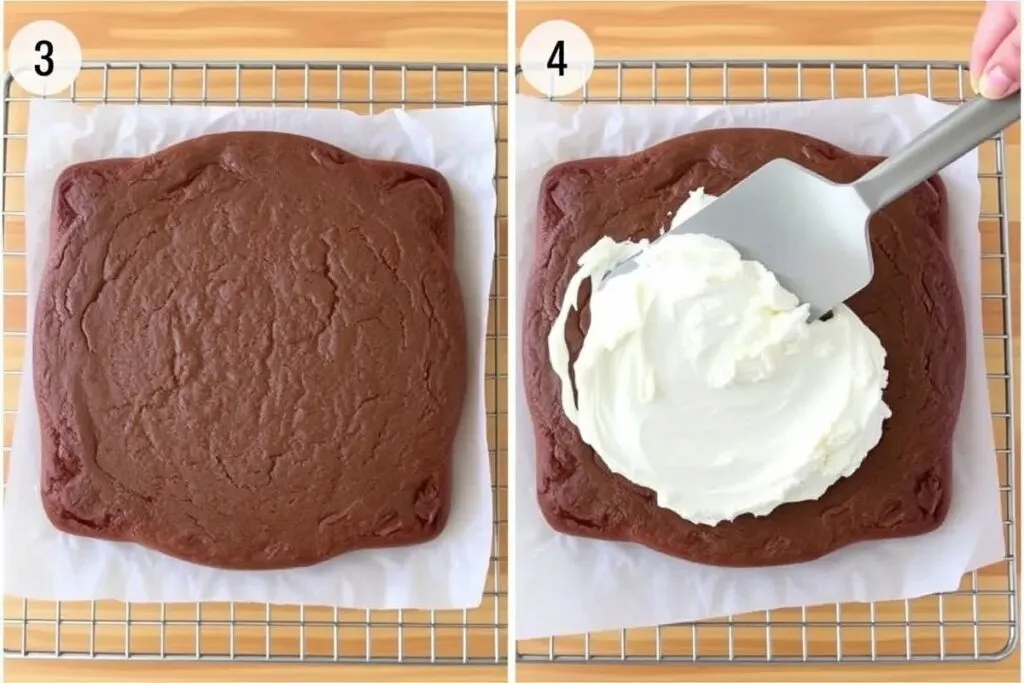
7.1. Spreading the Coconut Filling Evenly
- Prepare the Cake Base: Place one chocolate cake layer on a flat cake board or serving plate.
- Add the Filling: Use an offset spatula to spread a generous layer of coconut filling evenly over the surface. Start from the center and work outward.
- Maintain Even Thickness: Ensure the filling is thick but level, avoiding overloading the edges. This prevents spillage when stacking the second layer.
7.2. Stacking the Cake Layers
- Position the Second Layer: Carefully place the second chocolate cake layer on top of the coconut filling.
- Check Alignment: Ensure the layers are centered and level. Press gently but firmly to secure the layers.
- Trim if Needed: If the layers are uneven, trim the tops slightly for balance.
Applying the Chocolate Ganache
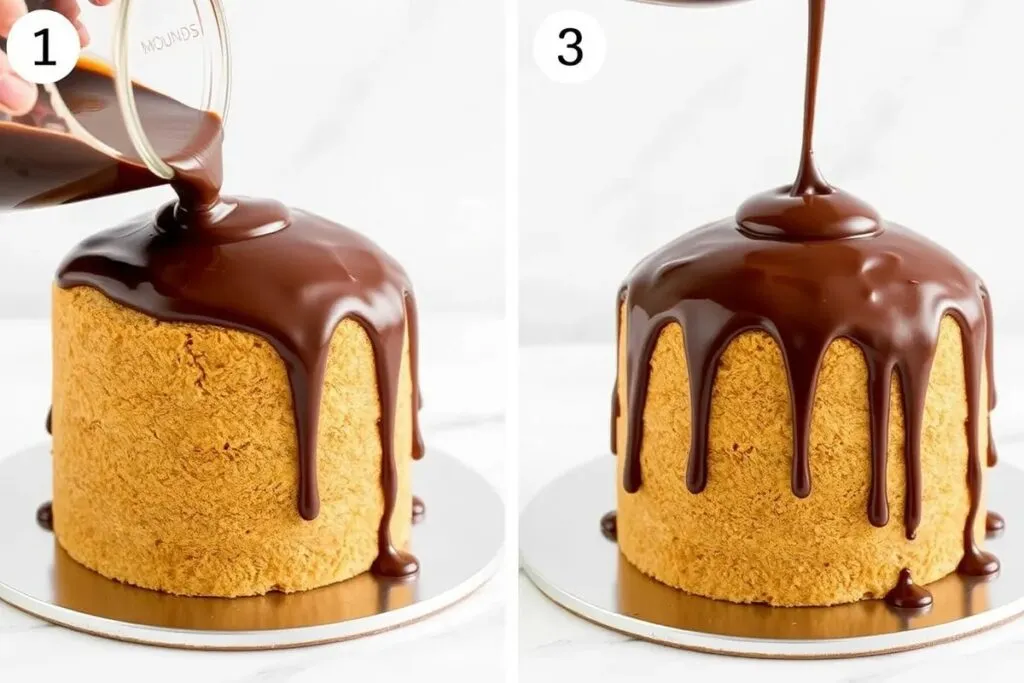
8.1. Pouring Techniques for a Smooth Finish
- Prep the Cake: Place the cake on a wire rack with a tray underneath to catch excess ganache.
- Pour the Ganache: Starting from the center, slowly pour the ganache, letting it flow outward and down the sides naturally.
- Use a Spatula if Needed: If desired, use an offset spatula for a smoother finish, but minimal spreading ensures a more natural look.
8.2. Ensuring Even Coverage
- Rotate for Coverage: Turn the cake slowly to ensure even ganache coverage.
- Fill Gaps: Use a small spatula or spoon to fill any uncovered spots.
- Allow to Set: Let the ganache set for 10-15 minutes before adding decorations.
Final Touches and Decoration
9.1. Optional Garnishes
- Toasted Coconut Flakes: Sprinkle around the edges for extra texture and flavor.
- Chocolate Shavings: Add a touch of elegance.
- Mounds Candy Bars: Cut into pieces and place on top for a thematic touch.
9.2. Presentation Tips
- Use a Cake Stand: Elevate the cake for an impressive display.
- Clean the Edges: Wipe away any excess ganache from the plate or cake board.
- Slice Neatly: Use a sharp, warmed knife for clean slices.
Your perfectly assembled Mounds cake is now ready to impress your family and guests with its stunning look and mouthwatering taste!
Serving and Storing Mounds Cake Recipe
After assembling your Mounds cake recipe, serving it with the right accompaniments and storing it properly ensures maximum enjoyment. Here’s how to present your cake beautifully and keep it fresh for days.
Serving Suggestions
10.1. Ideal Accompaniments
- Fresh Berries: Add a tart contrast with strawberries or raspberries.
- Whipped Cream: A light dollop balances the cake’s richness.
- Vanilla Ice Cream: A scoop enhances the chocolate-coconut combo.
- Coffee or Hot Chocolate: Complements the cake’s deep chocolate flavor.
10.2. Portion Recommendations
- Standard Slices: Cut the cake into 10-12 equal slices for a classic dessert serving.
- Mini Desserts: Slice smaller portions for a dessert buffet or party platter.
- Layer-Preserving Cuts: Use a long, sharp knife and clean it between cuts to maintain the cake’s neat layers.
Storage Guidelines
Proper storage keeps your Mounds cake fresh and flavorful for longer.
11.1. Refrigeration Tips Mounds Cake Recipe
- Cover the Cake: Use an airtight container or wrap the cake tightly in plastic wrap to prevent drying out.
- Refrigerate for Freshness: Store in the refrigerator for up to 5 days. Allow it to reach room temperature before serving for optimal taste and texture.
11.2. Freezing the Cake
- Freeze Individual Slices: Wrap each slice tightly in plastic wrap, followed by foil, for easy thawing.
- Whole Cake Storage: If freezing the entire cake, wrap it securely in several layers of plastic wrap and foil.
- Thawing Instructions: Transfer slices or the whole cake to the refrigerator 6-8 hours before serving.
With these serving and storage tips, your Mounds cake recipe will remain a delicious, crowd-pleasing dessert long after its creation!
Variations and Dietary Considerations Mounds Cake Recipe
The beauty of the Mounds cake recipe lies in its versatility. You can customize it to suit various tastes and dietary needs while maintaining its signature chocolate-coconut appeal.
Recipe Variations
12.1. Incorporating Almonds for an Almond Joy Twist
- Add Crunch with Almonds: Sprinkle chopped, toasted almonds between the cake layers for added texture.
- Almond Extract: Substitute vanilla extract with almond extract for a nutty undertone.
- Garnish with Almonds: Decorate the cake’s top with whole almonds or slivered nuts for a classic Almond Joy vibe.
12.2. Alternative Chocolate Options
- Milk Chocolate Ganache: Use milk chocolate for a sweeter, less intense ganache.
- White Chocolate Drizzle: Drizzle white chocolate over the cake for visual contrast and added sweetness.
- Dark Chocolate Lovers: Choose 70% dark chocolate for a richer, more robust flavor.
Dietary Modifications
13.1. Gluten-Free Adaptations
- Use Gluten-Free Flour: Substitute all-purpose flour with a 1:1 gluten-free baking mix.
- Check Baking Powder and Cocoa: Ensure these ingredients are labeled gluten-free.
- Prevent Cross-Contamination: Use separate baking tools if gluten-free integrity is critical.
13.2. Vegan Substitutions
- Dairy-Free Ingredients: Replace butter with vegan margarine and use canned coconut milk for the filling.
- Egg Replacements: Use flaxseed meal mixed with water (1 tbsp flaxseed + 3 tbsp water = 1 egg).
- Vegan Chocolate: Choose dairy-free chocolate for the ganache.
By trying these Mounds cake recipe variations and modifications, you can create a dessert that fits almost any dietary preference while keeping its irresistible flavor intact!
Frequently Asked Questions Mounds Cake Recipe
Here are answers to common queries about making the Mounds cake recipe, ensuring your baking experience is smooth and enjoyable.
14.1. Can I use a boxed cake mix for the base?
Yes, you can! A high-quality boxed chocolate cake mix can save time while still delivering a delicious base. Follow the package instructions but consider enhancing the flavor by adding a teaspoon of vanilla extract or replacing water with milk for a richer cake.
14.2. How do I prevent the coconut filling from oozing out?
The key is achieving the right filling consistency. Mix the coconut filling until it’s thick but still spreadable. Chill it briefly if it’s too soft. When assembling, leave a 1/2-inch border around the cake edge to prevent overflows when adding the second layer.
14.3. What’s the best way to slice the cake neatly?
Use a long, sharp knife warmed under hot water, then wiped dry. Make clean, confident cuts, slicing straight down without dragging the blade. Wiping the knife after each slice ensures cleaner cuts.
14.4. Can I make the components ahead of time?
Absolutely! Bake the cake layers up to two days in advance and store them tightly wrapped at room temperature. The coconut filling and ganache can be prepared a day ahead and refrigerated. Bring them to room temperature before assembling the cake.
14.5. How can I reduce the sweetness of the cake?
To balance the sweetness, use dark chocolate with at least 70% cocoa for the ganache. Reduce the sugar in the cake batter slightly or use unsweetened shredded coconut in the filling. A sprinkle of sea salt on top also enhances the flavor while cutting sweetness.
14.6. Is it possible to make this cake without dairy?
Yes! Replace butter with plant-based margarine, use coconut milk for the ganache, and choose dairy-free chocolate. Egg replacements like flax eggs (1 tbsp flaxseed + 3 tbsp water) work well in the cake batter. This way, you can enjoy a dairy-free version of the Mounds cake recipe without compromising on taste!
Conclusion Mounds Cake Recipe
Bringing It All Together
Crafting the perfect Mounds cake recipe is a rewarding experience that combines the rich intensity of chocolate with the sweet, tropical taste of coconut. Each layer, from the moist chocolate cake to the creamy coconut filling and velvety ganache, creates a dessert that’s both decadent and unforgettable.
15.1. Celebrating the Fusion of Chocolate and Coconut
The irresistible blend of chocolate and coconut has made the Mounds cake a beloved classic. Its luxurious layers offer a delightful contrast of flavors and textures that satisfy even the most refined dessert cravings. Whether served at special occasions or enjoyed as a family treat, this cake is a celebration of timeless flavors.
15.2. Encouragement to Experiment and Enjoy
Baking is all about creativity and personalization. Feel free to experiment with variations like almond additions, vegan substitutes, or even decorative toppings. With each attempt, you’ll master new techniques and craft a cake that reflects your unique style. Happy baking!